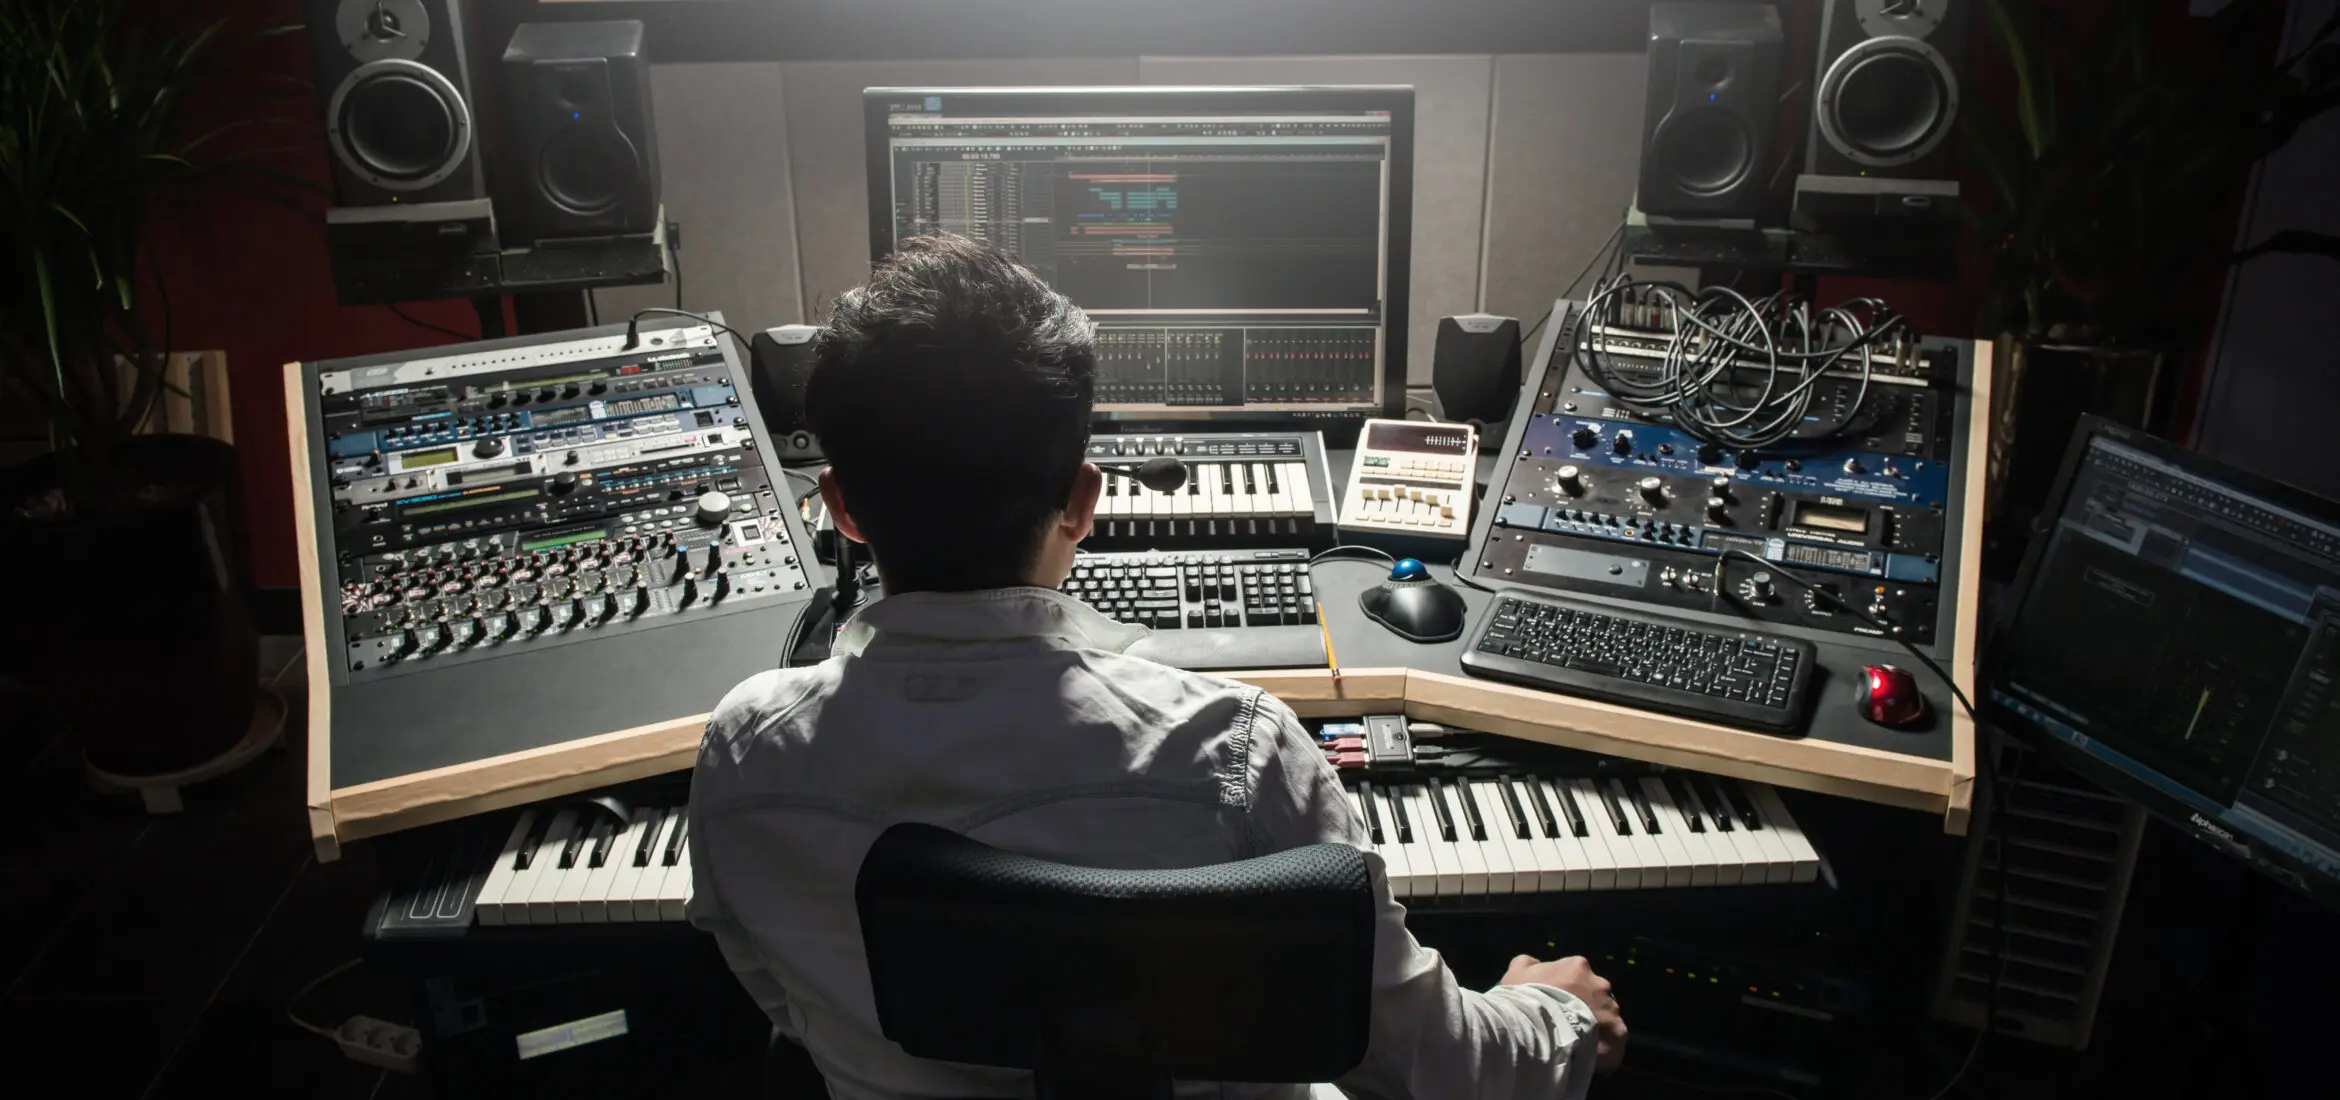
Designing a home studio involves a balance between functionality, budget and available space. With careful planning, it is possible to create an effective home recording and mixing environment. The following are essential considerations for designing a home studio.
Space and Location
Selecting the right space in your home is critical. Look for a room that is as isolated as possible from outside noise and everyday household activities. A basement or a room in a quiet area of the home may be ideal. Also consider the size of the room, as spaces that are too small can present acoustic challenges.
Soundproofing
Soundproofing is vital to keep outside sounds from interfering with your recordings and to prevent studio noise from disturbing others in the home. Use specific techniques and materials to achieve good insulation:
- Doors and Windows: Use rubber seals to seal doors and windows. Consider installing solid doors and double-glazed windows.
- Walls and Ceilings: Add layers of dense materials, such as extra drywall and high-density vinyl, to increase mass and reduce sound transmission.
- Flooring: Thick carpets and rugs can help reduce sound transmission through the floor. In some cases, it may be necessary to install a floating floor.
Acoustical Treatment
Acoustic treatment is essential to improve sound quality within the studio, reducing problems such as excessive reverberation and unwanted reflections. Solutions include:
- Absorptive Panels: Place acoustic foam or fiberglass panels on walls to absorb mid and high frequencies.
- Bass Traps: Place bass traps in the corners of the room to control low frequencies.
- Diffusers: Use diffusers on the walls to disperse sound waves evenly, avoiding the accumulation of energy at certain points.
Space Distribution
Organize the space so that it is functional and comfortable to work in:
- Main Work Zone: Place your work table and main equipment (computer, audio interfaces, studio monitors) in a central position. Make sure the computer screen is at eye level and the studio monitors are at ear level, forming an equilateral triangle with your listening position.
- Recording Zone: Dedicate a part of the room to record vocals and instruments. If space is limited, use acoustically treated portable dividers to create a more controlled recording environment.
Monitoring and Equipment
Accurate monitoring is crucial for quality production. Choose appropriate monitoring equipment and set up your studio to maximize its effectiveness:
- Studio Monitors: Invest in quality studio monitors that offer a flat response. Place them at ear level and make sure they form an equilateral triangle with your listening position.
- Reference Headphones: Have a good pair of reference headphones handy to compare your mixes and hear details that may not be evident in studio monitors.
- Audio Interface: Select an audio interface with sufficient inputs and outputs for your current and future needs. Make sure it has good quality preamps for recording.
Ergonomics and Comfort
A home studio should be a comfortable and ergonomic place to work, especially during long sessions:
- Comfortable Furniture: Choose an ergonomic chair and a suitable work table. Consider an adjustable keyboard and mouse stand to reduce fatigue.
- Adequate Lighting: Make sure there is enough natural and artificial light in your studio. Use adjustable lights to create a pleasant environment and reduce eyestrain.
- Ventilation and Air Conditioning: Maintain good ventilation and a comfortable temperature in your studio. A quiet fan or air conditioner may be necessary to maintain comfort without introducing noise.
Become an expert in monitoring with the recommended book “Acoustings and monitoring in Music Production” (click on the image to go to the link):

Organization and Cabling
Organization of cabling and equipment is crucial to maintaining a tidy and functional workspace:
- Cable Management: Use raceways and cable ties to organize cables and avoid tangles. Label cables to easily identify connections.
- Accessibility: Place equipment so that it is easily accessible. Racks and racks can help organize equipment and keep it within easy reach.
Software and Digital Tools
The software you use is as important as the hardware. Select tools that facilitate your workflow and increase your productivity:
- DAW (Digital Audio Workstation): Choose a DAW that suits your needs and is compatible with your equipment. Popular choices include Pro Tools, Ableton Live, Logic Pro and FL Studio.
- Plugins and VSTs: Invest in high-quality plugins for mixing and mastering. Tools such as equalizers, compressors, reverbs and amp simulators can significantly improve the quality of your productions.
- Sound Libraries: Maintain an organized library of sounds and samples that you can use in your productions. This includes loops, sound effects and instrument samples.
Budget and Planning
Budget is an important consideration when designing a home studio. Plan your expenses carefully to maximize the return on your investment:
- Prioritize Essential Equipment: Invest in the most important equipment and acoustic treatments first. It is better to have some high quality equipment than a lot of low quality equipment.
- Plan for the Future: Consider your future needs and leave room for expansion and equipment upgrades.
- Look for Bargains and Used: Explore options for used equipment in good condition and special offers to save money.