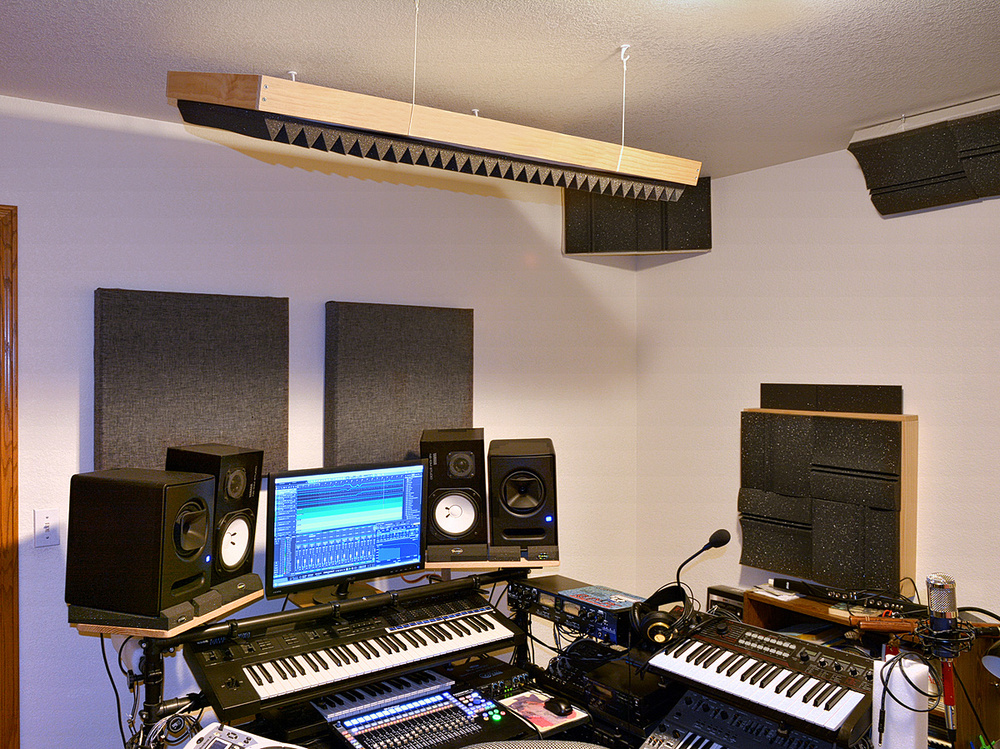
The design and construction of a home studio requires the careful selection of materials and the application of specific techniques to ensure an optimal recording and mixing environment. The following is a description of the essential materials and techniques for home studio construction.
Construction Materials
- Drywall
- Drywall is common in studio wall and ceiling construction. They are used in multiple layers to increase mass and improve sound insulation. Between the layers, a high-density vinyl barrier can be added to further increase effectiveness.
- High Density Vinyl (Mass Loaded Vinyl, MLV)
- MLV is a heavy, flexible material used to block sound transmission. It can be installed between layers of drywall or in floors to improve insulation.
- Fiberglass and Rock Wool
- These materials are excellent for sound absorption. They are used inside walls, ceilings and floors to reduce sound transmission and improve internal acoustics. Rock wool is especially effective in absorbing low frequencies.
- Acoustical Foam Panels
- Acoustical foam panels are lightweight and easy to install. They are used to absorb medium and high frequencies, reducing reverberation and reflections. They are ideal for walls and ceilings.
- Bass traps
- Often made of materials such as fiberglass or dense acoustical foam, bass traps are placed in the corners of the room to control low frequencies and reduce resonance problems.
- Diffusers
- Diffusers are made of wood or plastic and are used to disperse sound waves. This helps create a more uniform sound field and reduces unwanted reflections.
- Insulation Doors and Windows
- Doors and windows designed specifically for sound insulation have multiple layers of dense materials and rubber seals to minimize sound transmission.
Construction Techniques
- Decoupled Wall Construction
- Building decoupled walls involves creating a double-wall structure, where two sets of drywall are separated by an air space. This significantly reduces sound transmission. Another technique is to use metal studs instead of wood, since metal is less acoustically conductive.
- Use of Resilient Channels
- Resilient channels are installed between the drywall and the supporting structure. This decouples the walls and ceiling, reducing vibration transmission and improving sound insulation.
- Floating Floors
- A floating floor is a technique in which the floor is decoupled from the subfloor using materials such as rubber or foam. This helps to minimize the transmission of vibrations and sounds through the floor.
- Sealing Cracks and Joints
- It is crucial to seal all cracks and joints with acoustical caulk to prevent sound leakage. This includes joints between walls and ceilings, doors, and around windows.
- Installation of Insulation Doors and Windows
- Acoustical doors should be solid and well sealed with rubber weatherstripping to prevent sound leakage. Windows should have multiple layers of glass and be sealed with acoustical materials.
- Strategic Acoustical Treatment
- Absorber and diffuser panels should be placed at strategic points to control reflections and improve sound quality. This includes points of first reflection, corners for bass traps and the ceiling.
Become an expert in monitoring with the recommended book “Acoustings and monitoring in Music Production” (click on the image to go to the link):

Additional Considerations
- Ventilation and Air Conditioning
- The ventilation and air conditioning system should be designed to minimize noise. This may include soundproof ductwork and decoupled ventilation systems.
- Access to Electricity
- Ensure that the studio has sufficient access to electrical outlets for all equipment. Consider installing a separate electrical system for audio equipment to avoid electrical interference.
- Aesthetics and Functionality
- The studio design should be aesthetically pleasing and functional. A well-designed space not only improves acoustics but also creates an inspiring and comfortable environment to work in.
Practical Building Example
Step 1: Planning and Design
- Define the purpose of the studio and draw up a detailed floor plan. Consider the dimensions of the room, the location of doors and windows, and the layout of equipment.
Step 2: Space Preparation
- Clear the room and prepare surfaces. Make sure all surfaces are clean and level before construction begins.
Step 3: Wall and Ceiling Construction
- Install the supporting structures, either metal studs or wood studs. Lay layers of drywall, sandwiching high-density vinyl if necessary. Use resilient supports to decouple walls and ceilings.
Step 4: Acoustical Treatment Installation
- Place bass traps in corners and absorptive panels on walls and ceilings. Install diffusers in appropriate areas to disperse sound waves.
Step 5: Sealing and Finishing
- Seal all joints and cracks with acoustical caulk. Install acoustically insulated doors and windows. Paint and decorate the room as needed, making sure that decorative materials do not adversely affect acoustics.
Step 6: Equipment Setup and Wiring
- Place audio equipment in its final position. Organize and label wiring for easy access and maintenance.